DIY: “barefoot”/natural running shoes
At the end of last year I went to a sports and health fair, where I wanted to have a closer look at the available natural running shoes, especially the ones from Vibram (FiveFingers) and Leguano. Both type of shoes were comfortable and seemed to be of good quality. However, with an above the 70 EUR price range, they are quite expensive for a shoe that aims to be like no shoe at all. In fact, they are more like a pair of high quality socks with a special thin rubber layer glued to the sole (whereas the Vibram FiveFingers also seem to have some supportive structure integrated, which is kind of a contradiction to the barefoot philosophy). Making a custom fitted version should not be that hard, so I decided to make my own.
Since most ideas already exist somewhere in the internet, I found several youtube videos, where they were making their own pair of Vibram FiveFingers fakes. Actually, I find the separate toe sections quite annoying — not only because you can only wear them barefoot or with special socks, but also because it takes practice and more time to put them on. Not separating the toe sections makes the building process very simple.
All that is needed is:
- a pair of high quality socks (designed for sports),
- one of the available liquid rubber products (Plasti Dip, FlexiDip, Sugru, latex milk, etc.)
- a piece of cardboard big enough to place your feet on it, a pen and two plastic bags
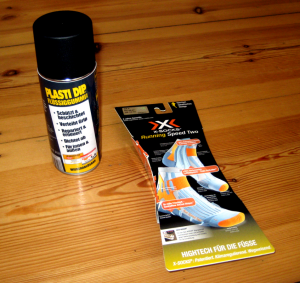 For my version I used a Plasti Dip spray, but I would expect latex milk to give an even better result.
First place your feet on the cardboard and draw their outline with a pen on the board. The outline should be the shape of your feet seen from above. Hold the pen vertically while drawing around your foot, making the contour slightly bigger than your actual foot. Do not pay too much attention to the details, just roughly match your foot’s sole. The surface of these two cardboard outlines will be transferred to the sole of your socks in the next step.
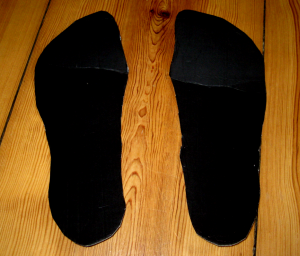 Do not try to simply put on the socks and spray/paint the sole. The liquid rubber paint will soak into the textile and onto your skin. With latex milk this is no problem, but Plasti Dip should not come in contact with skin until dry. Also, several layers need to be painted. During the painting process, each layer needs to dry, which would leave you waiting with the shoes on.
Now, put each cardboard outline into a plastic bag (this reduces the friction, makes the cardboard easier to place in the socks and prevents any cuts in the textile) and then carefully place them into the socks. Make sure the socks fit the cardboard perfectly, as the bottom of the socks will be painted and eventually become the sole of your new shoes.
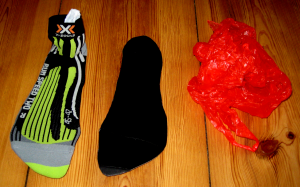 Now you start to build up the sole of your shoes by applying the liquid rubber to the sole of the socks layer by layer. Give each layer enough time to dry (see the liquid rubber product’s user instructions). Obviously, the more layers you add, the thicker the soles of your shoes become — it is up to you.
When the sole is dry and has the desired thickness, you are done. Remove the cardboard and plastic bags and try on your new shoes.
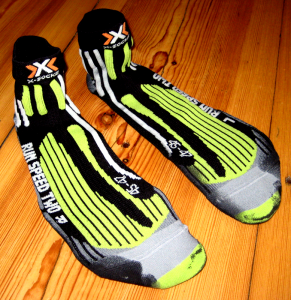
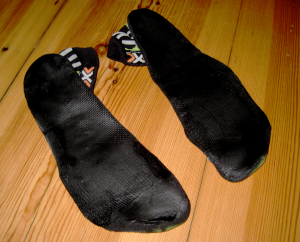 Do not expect anything similar to “normal” shoes. These are just socks with a rubber sole. They are great (and quite durable) in all situations, where you would like to have a barefoot feeling while still wearing shoes. Unlike Vibram FiveFingers and Leguanos, they do not protect your foot from sharp objects on the ground, so be careful where you use them. And just as with all “barefoot”/natural running shoes, I would not recommend walking with them on hard surfaces (e.g. asphalt).